In this short tutorial, we will review the installation process of the Max CSS plugin for WordPress in 4 steps.
This is a simple plugin that I wrote some time ago, in order to facilitate the development of CSS code in the WordPress default editor.
It adds an icon that the user can click and maximize the screen of the editor. This enhances the readability of your code.
As a result, it will help you to inspect and find any potential bugs making the development process easier.
So let’s start by following the following steps.
Step 1
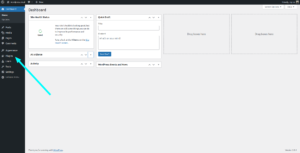
First, you will need to click on the Plugins link in the right sidebar of WordPress.
Step 2
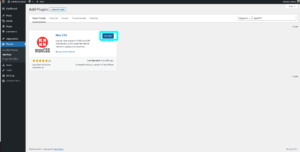
Next, you will need to click on Add New and search for the term maxCSS in the WordPress plugins directory. After that, the plugin will show up in the search results.
Step 3
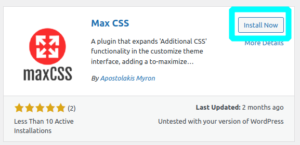
Following that, you should click on Install Now link.
Step 4
Next, you will have to activate the plugin by clicking on the Activate button.
At this point the installation of the maxCSS plugin is complete. In the following sections, we will see how you use it.
Usage
First, you will need to click on the Appearance link in the right sidebar of WordPress. After that, a dropdown menu will open. You will have to click on the Customize link as is shown in the image below.
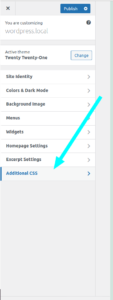
Following that, the customizer screen of your theme will show up. You will need to click on the Additional CSS in the right sidebar as is shown below.
As a result, the Additional CSS editor will display and the maxCSS button is displayed as is shown below.
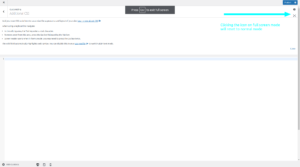
The result of clicking on the maxCSS icon is displayed below. When you click again it will exit the fullscreen mode.
Finally, if your browser does not support the fullscreen functionality an information dialog will show up.
Thank you for reading.
Happy coding

